
How To
Install wood floors with Woodloc® locking joint
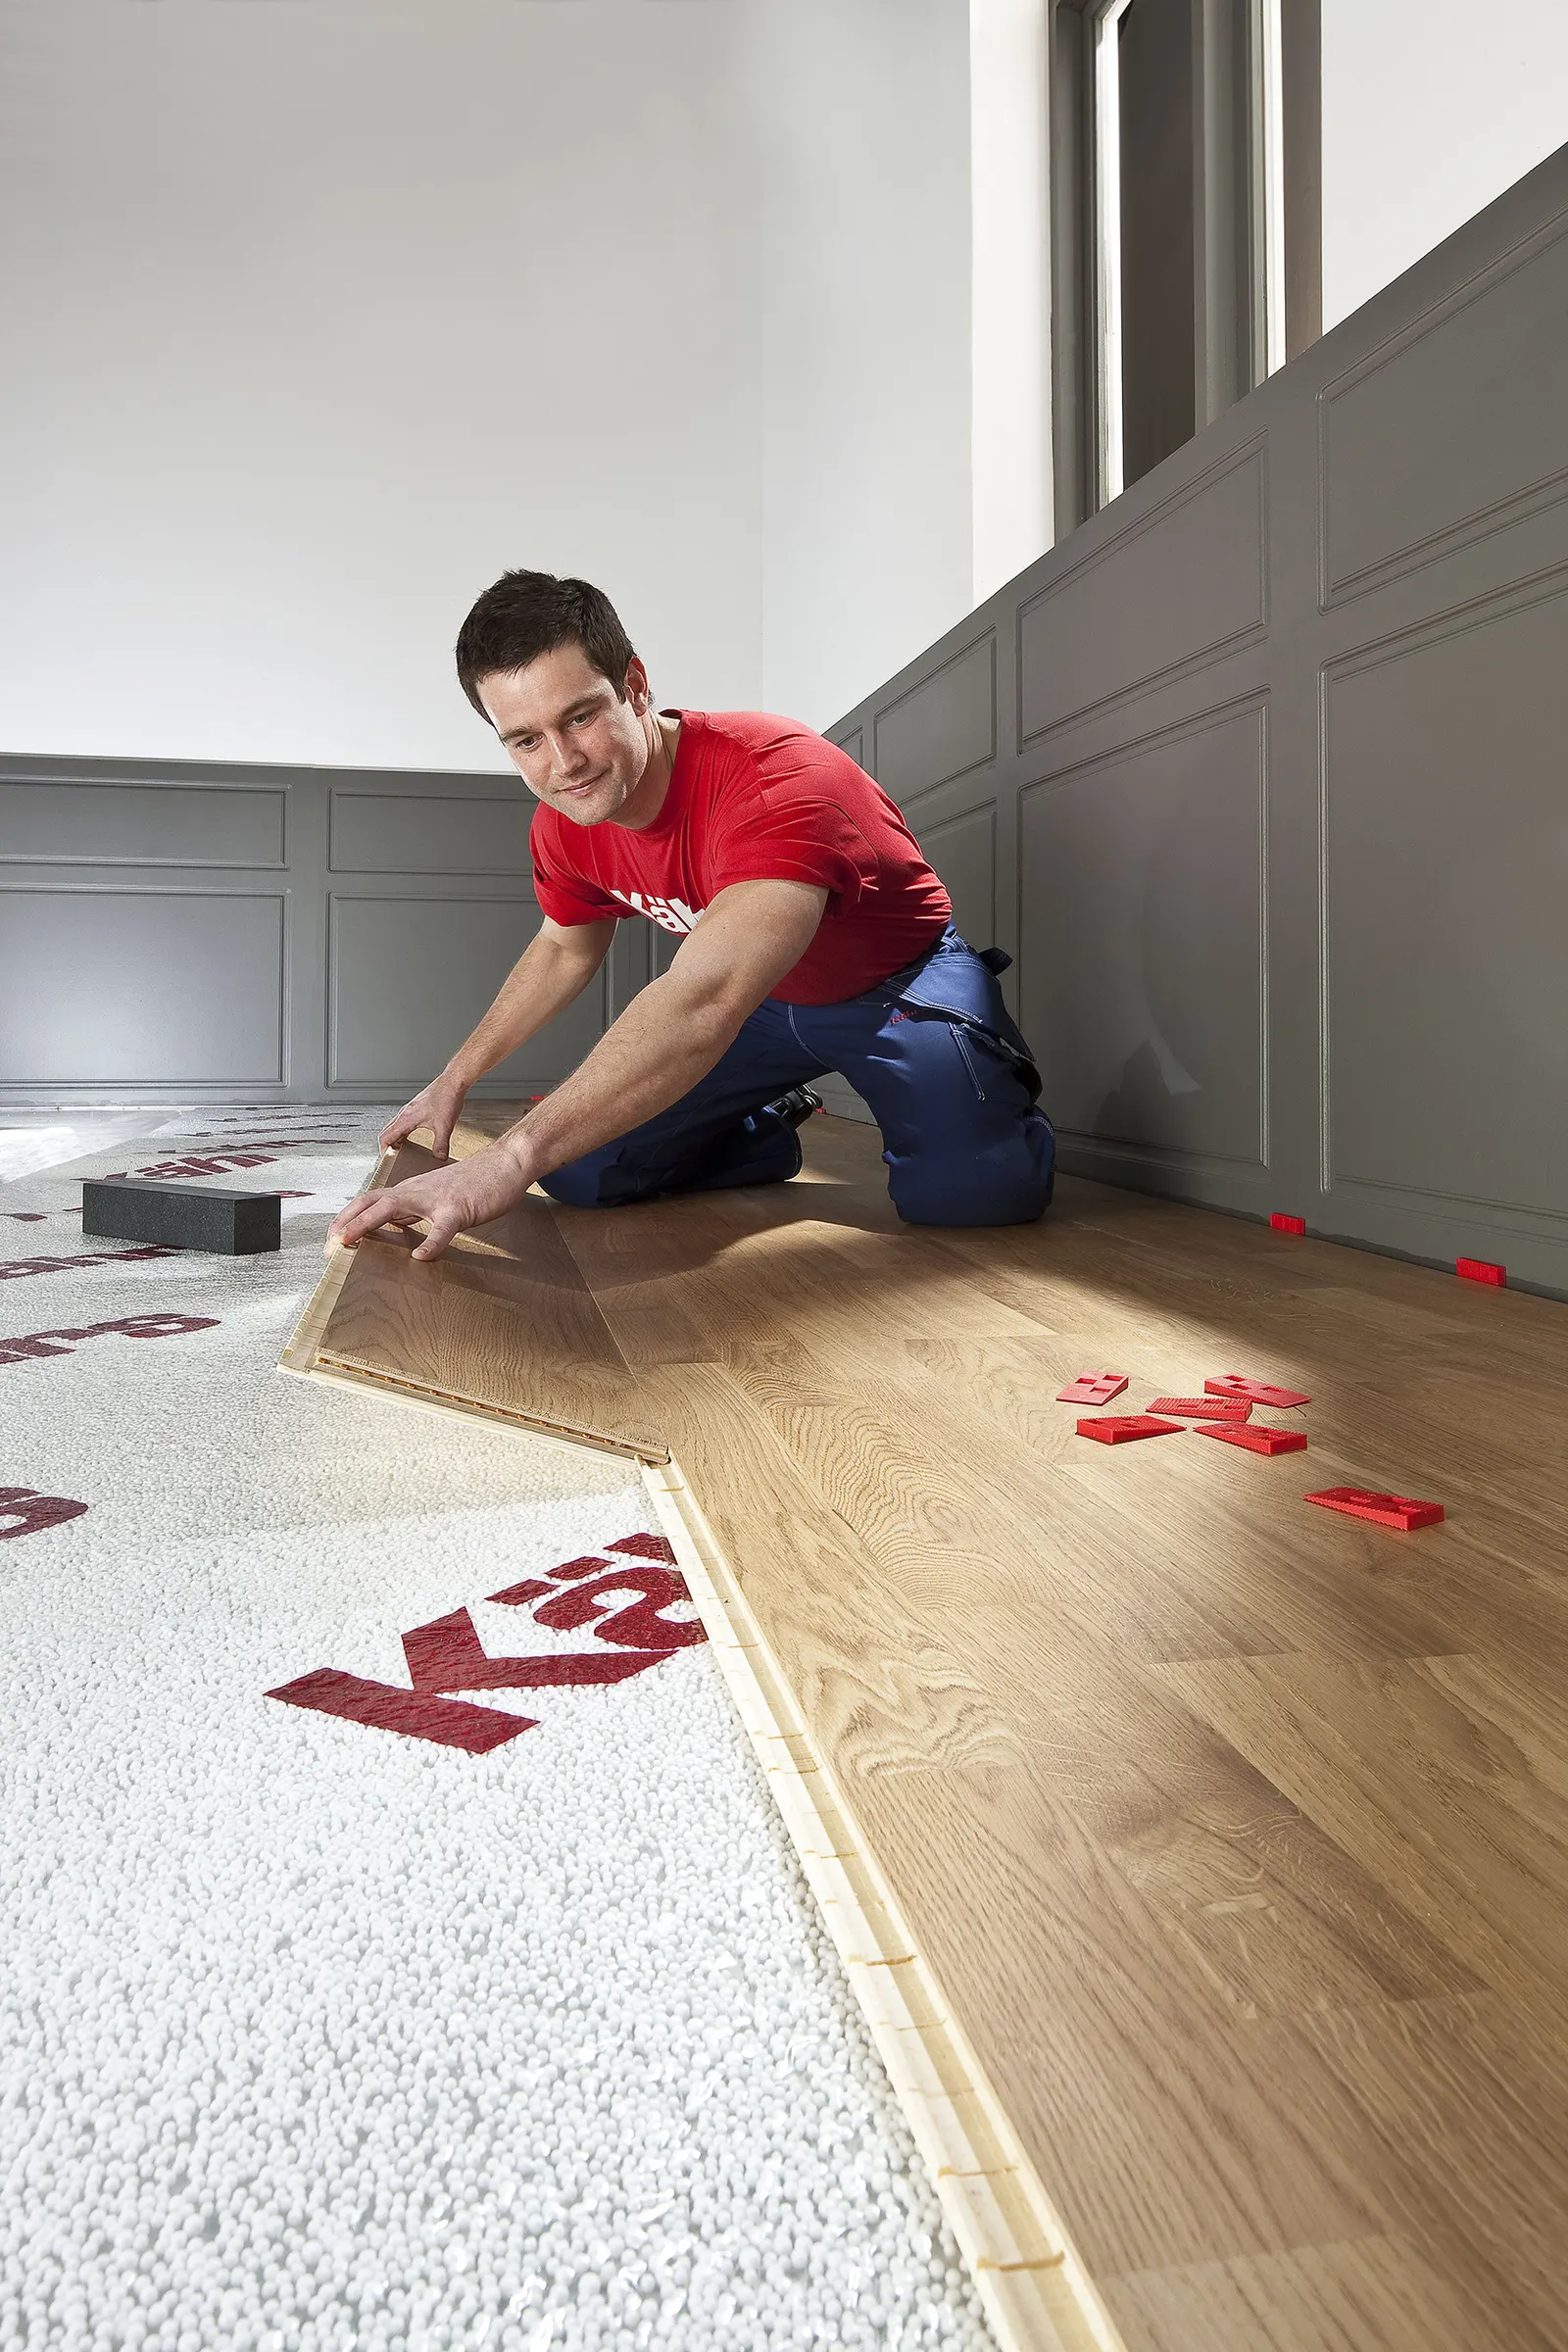
Installing a wood floor from Kährs is efficient and hassle-free, thanks to our precision-engineeredWoodloc® locking joint system. This innovative technology seamlessly locks boards together without the need for glue, ensuring agap-free, stable surfacethat enhances both durability and performance. To ensure a smooth installation, we recommend reviewing ourdetailed installation guideand watching our step-by-step instruction video. Whether you're working on a large-scale commercial project or a boutique space, our system is designed to save time while delivering a flawless result. Prepare, install, and enjoy a perfectly fitted Kährs floor—built to last.
Before you begin
- 1
Humidity
Creating the perfect environment is key to enjoying your Kährs wood floor for years to come. Keep the relative humidity between 30-60%, before, during, and after installation, to prevent the wood from expanding or contracting. Let your floor settle in naturally by keeping the room temperature steady at 15-23°C and storing your wood packs in this same cozy environment for at least 24 hours before installation. It’s a simple step that makes a big difference, ensuring your floor performs beautifully from day one.
- 2
Dry subfloor
A solid start makes all the difference when installing your Kährs wood floor. Start with a dry, level, and clean subfloor to create a foundation that lasts. Remove any old carpeting, debris, or dust for a pristine surface that sets the stage for a flawless installation. Depending on your subfloor type, a moisture barrier might be essential to protect your new floor from humidity and ensure its beauty endures. Always check the moisture levels and follow our step-by-step installation guide to guarantee your floor stays as stunning as the day it was installed.
- 3
Download guide
Want to learn more about how to prepare your subfloor and work with underfloor heating? Dive into our detailed guide—it’s packed with tips to help you create a foundation that ensures your Kährs wood floor stays beautiful and performs flawlessly.
Quick tips
Even seasoned DIY pros can benefit from a few smart tips to ensure your Kährs hardwood floor installs seamlessly:
- Plan ahead: Measure carefully and calculate the number of boards you’ll need for the room’s width. If your last row would be less than 30 mm, adjust the first row for a perfect fit.
- Mix for a natural look: Open several packs and blend boards to create a beautifully balanced color variation. Be sure to check for defects before you start laying the floor.
- Lay it right: Position boards lengthways in the room for a more spacious and stylish visual.
- Room to breathe: Always leave enough space between the floor and the walls to allow for natural expansion and movement.
- Correct orientation: The groove side of each board should face into the room for the perfect fit.
- Perfect angle: Install boards at a 20-30° angle to lock them securely in place.
- Tight joints: Use a Kährs hand block to lock the short joints snugly.
- End joint offset: Keep a 500 mm stagger in end joints between rows for extra stability.
- Smart cuts: Start each new row with the leftover piece from the previous row to minimize waste and create a seamless flow.
Normal installation
Normal installation
Locking installation
Last row installation
Quick tips
Read and Download Our Guides
Full step-by-step documents, technical data and care instructions - free to download as PDF.